

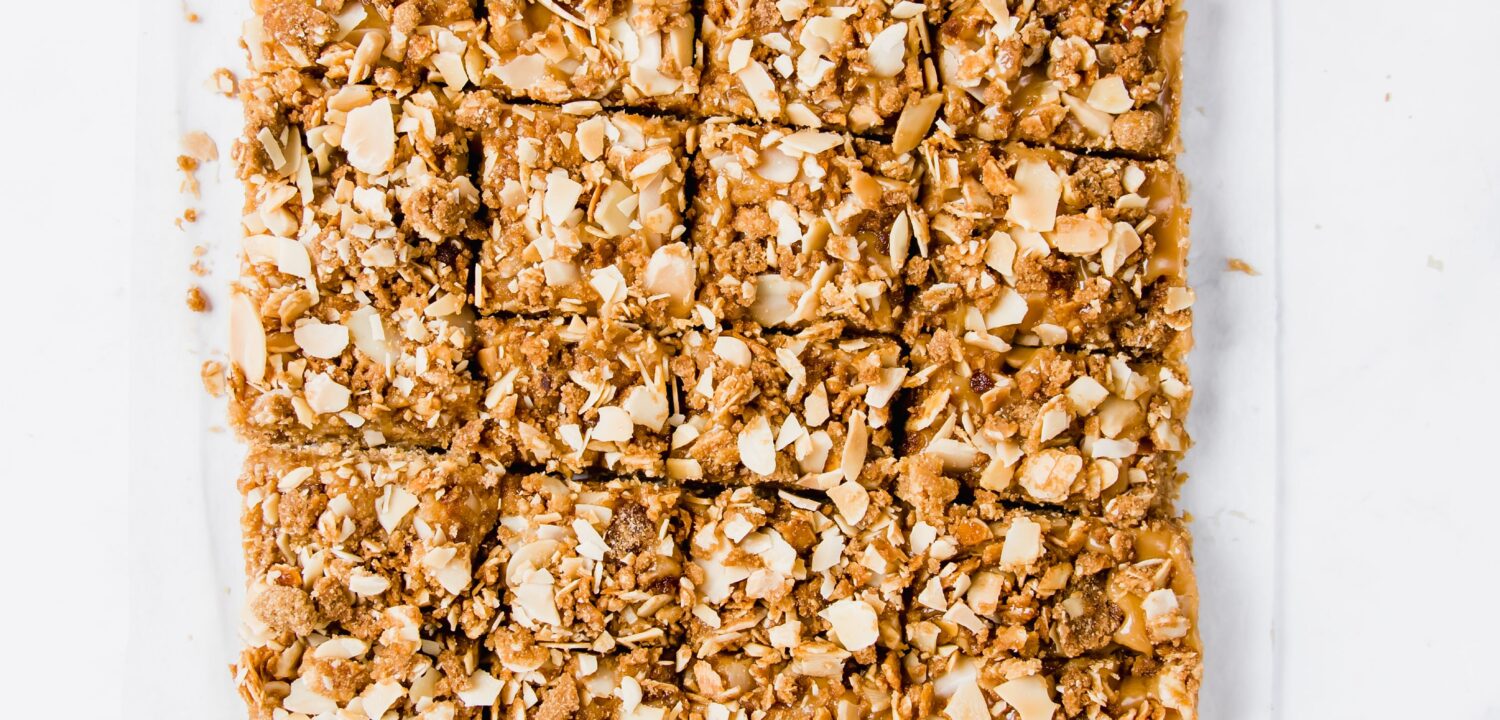
If you’ve been looking for a reason to upgrade your breakfast game, this cardamom cashew butter baked oatmeal is exactly that. Warming, fragrant, and just sweet enough to feel like a proper treat, it’s the kind of oatmeal baked recipe that earns a permanent spot in your weekly rotation. It comes together with minimal effort, fills your kitchen with the most inviting aroma, and keeps you satisfied all morning long.
At Ezra Cohen Montreal, we’re always looking for new ways to bring our nut butters into everyday meals—and baked oatmeal is one of our favorites. Cashew butter brings a natural creaminess to the dish that really sets this one apart, and paired with cardamom, it becomes something genuinely special. Read on for everything you need to know about how to make baked oatmeal, plus a full recipe you’ll want to come back to again and again.
What Is Baked Oatmeal?
If you’ve only ever made oatmeal on the stovetop, you’re in for a treat. Baked oatmeal is made by combining all your ingredients in a bowl, pouring the mixture into a baking dish, and letting the oven do the work. The result is a sliceable, casserole-style breakfast with a lightly golden top and a soft, set interior—somewhere between a bowl of oatmeal and an oat cake in the best possible way.
Unlike stovetop oatmeal, it holds its shape, which means you can make it ahead of time and reheat individual portions throughout the week. It’s one of the most practical baked oatmeal recipes out there, and once you try it, it’s hard to go back.
Why This Cashew Butter Baked Oatmeal Works So Well
Cashew butter and cardamom might not be the most obvious pairing, but trust us on this one. Cardamom is a warm, aromatic spice with a floral, slightly citrusy quality that features in everything from chai to Scandinavian pastries. Its brightness cuts right through the mellow richness of cashew butter, and together, they turn a simple oat base into something that feels intentional and a little bit special.
Because we’re using Ezra Cohen Montreal cashew butter, you’re also getting all the nutritional benefits that come with it: healthy fats, plant-based protein, and none of the unnecessary additives. It’s comfort food that actually takes care of you.
About the Ingredients
Rolled Oats: The foundation of any good oatmeal baked recipe. Rolled oats give the dish structure and a pleasantly chewy texture once baked. Avoid quick oats here—they’ll absorb the liquid too fast and get mushy.
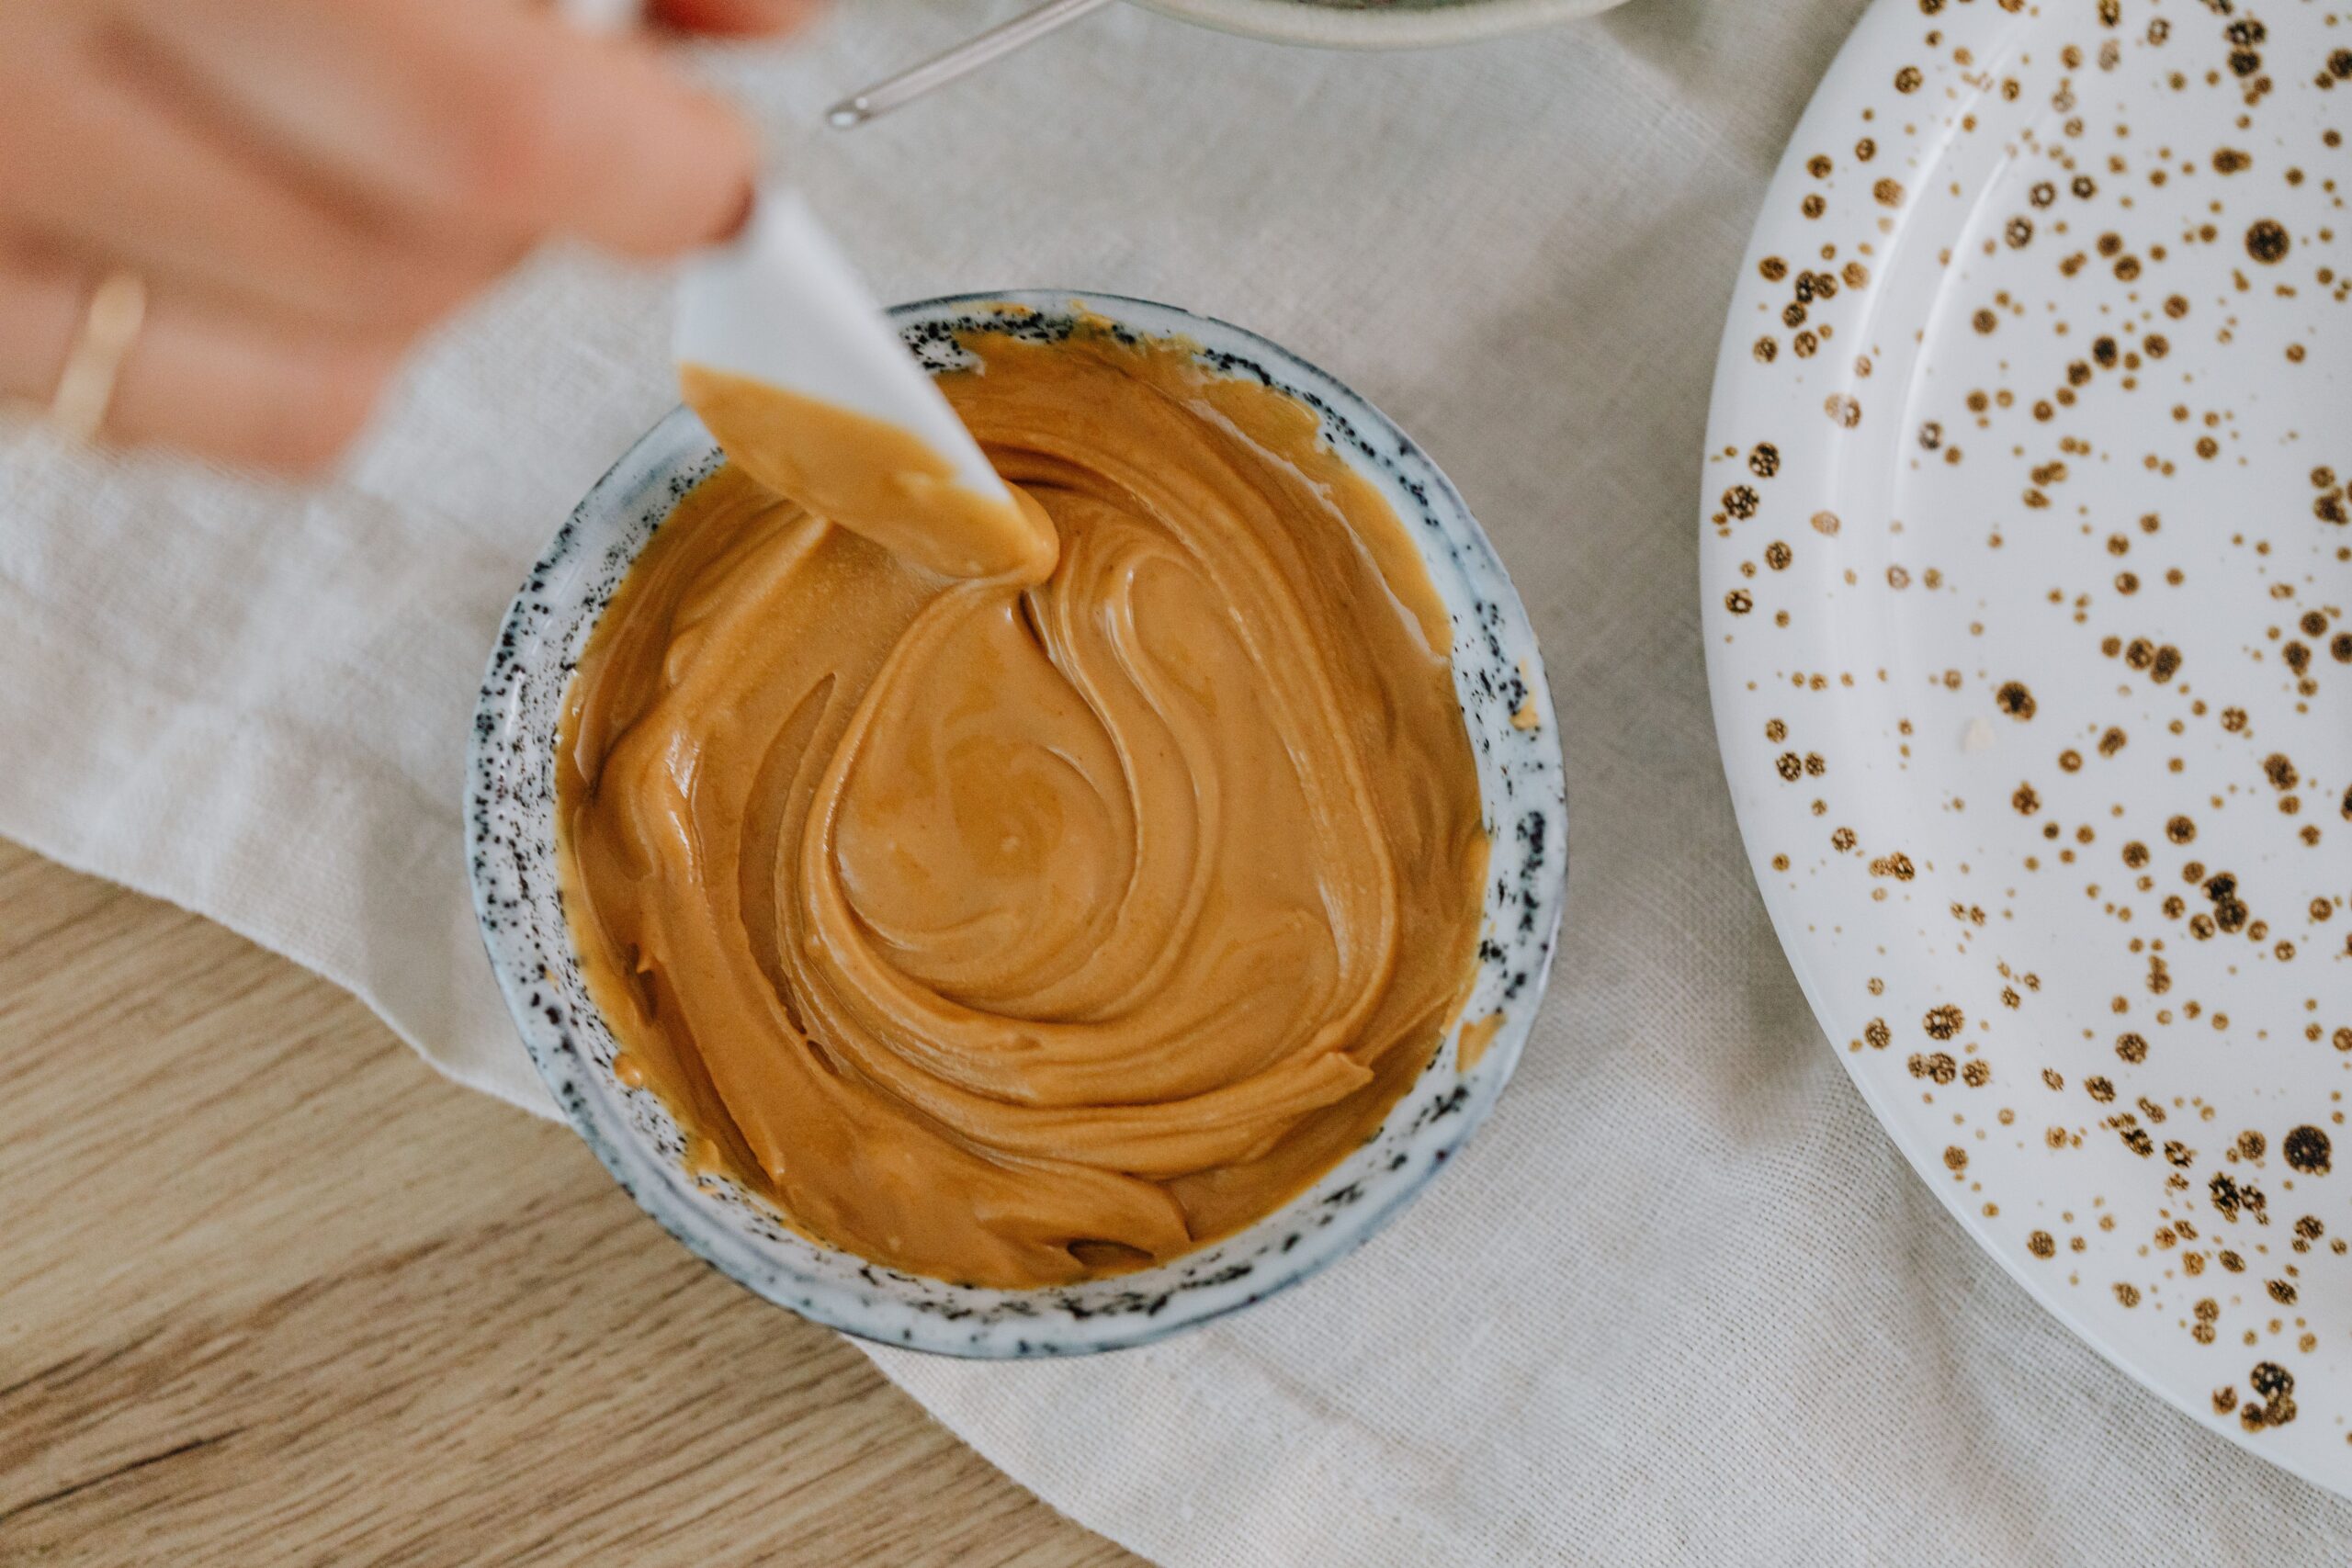
Ezra Cohen Montreal Cashew Butter: The star of this recipe. Cashew butter melts seamlessly into the oat mixture, adding creaminess and a mild nuttiness that doesn’t overpower the cardamom. If you’d like to try a variation, our natural almond butter makes a wonderful swap with a slightly more robust flavor.
Maple Syrup: A natural sweetener that complements the cardamom beautifully. You can adjust the amount to match how sweet you like your mornings.
Ground Cardamom: The spice that makes this recipe memorable. It’s floral, aromatic, and warming all at once—a little goes a long way.
Eggs: Two eggs help bind the dish and give it that soft, custard-like set you’re looking for once it comes out of the oven.
Milk (or Non-Dairy Milk): Use whatever milk works best for you. Oat milk, almond milk, and regular dairy all work well here. Oat milk, in particular, leans into the natural oat flavor nicely.
Vanilla Extract: Rounds out the flavor and adds a gentle, familiar sweetness to the background.
Baking Powder: Just a little to keep the dish from getting too dense and to give it a light, pleasant lift.
Optional Toppings: A sliced banana, a handful of fresh berries, or a few chopped dates scattered on top before baking add natural sweetness and a nice visual finish. A drizzle of extra cashew butter over the top when serving doesn’t hurt either.
Is Baked Oatmeal Good for Meal Prep?
Absolutely, and that’s one of the best things about it. This cardamom cashew butter baked oatmeal keeps well in the fridge for up to five days. Just slice it into portions, store them in an airtight container, and reheat in the microwave for about a minute when you’re ready to eat. It’s one of those reliable baked oatmeal recipes that makes healthy eating genuinely easy, even on your busiest mornings.
Cardamom Cashew Butter Baked Oatmeal Recipe
Makes 6 servings
Ingredients
- 2 cups rolled oats
- 2 tablespoons Ezra Cohen Montreal cashew butter
- 2 large eggs
- 1 ¾ cups milk (dairy or non-dairy)
- 3 tablespoons maple syrup
- 1 teaspoon pure vanilla extract
- 1 teaspoon ground cardamom
- ½ teaspoon baking powder
- Pinch of salt
- Optional toppings: sliced banana, fresh berries, chopped dates, a drizzle of extra cashew butter
Directions
- Preheat your oven to 375°F (190°C) and lightly grease an 8×8-inch baking dish.
- In a large bowl, whisk together the eggs, milk, cashew butter, maple syrup, and vanilla extract until smooth and well combined.
- Add the rolled oats, cardamom, baking powder, and salt to the wet mixture and stir until everything is evenly incorporated.
- Pour the mixture into your prepared baking dish and spread it into an even layer.
- Add your toppings—a few banana slices and a drizzle of extra cashew butter work beautifully here.
- Bake for 35–40 minutes, until the top is golden and the center is set when you give the dish a gentle shake.
- Let it cool for a few minutes before slicing and serving. Enjoy warm, or let it cool completely and store in the fridge for easy breakfasts throughout the week.
More Breakfast Ideas from Ezra Cohen Montreal
If this cashew butter baked oatmeal has you inspired, we’ve got plenty more healthy, nut butter-forward recipes to explore. Head over to our full recipe collection for more breakfast ideas, snacks, and beyond. Whether you’re a longtime fan of nut butter or just discovering how versatile it can be in the kitchen, there’s something there for everyone.
Happy cooking!

Recent Comments